


How to install and configure Google Tag Manager
You can sign in to the GTM service using your existing Google Account. If you do not have one, you can create one. If you already have an account, click "Start for free".

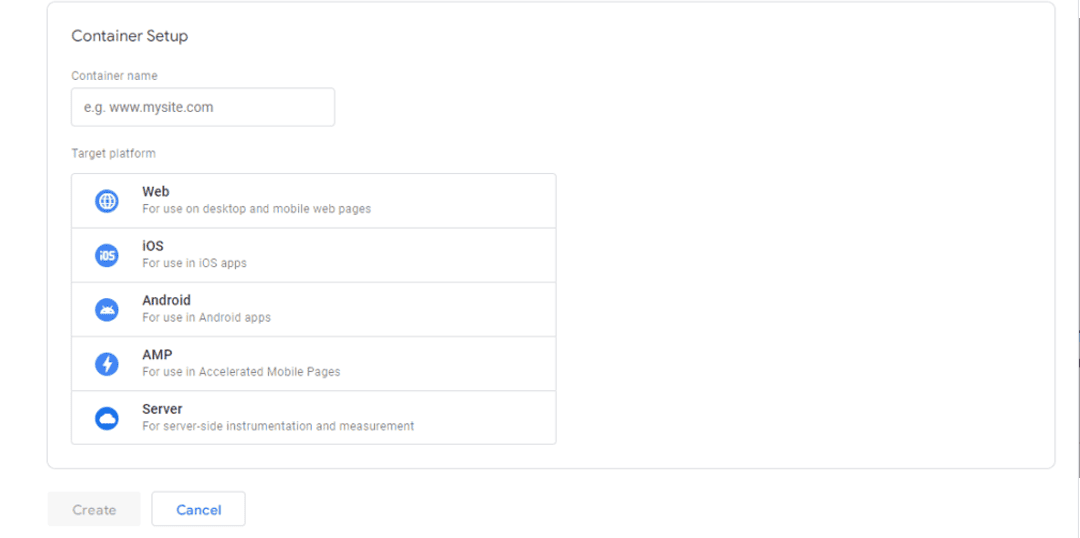
The service will immediately ask you to enter your company name, website address and select a platform.
After accepting the terms of the additional agreement, a window will appear with a code:
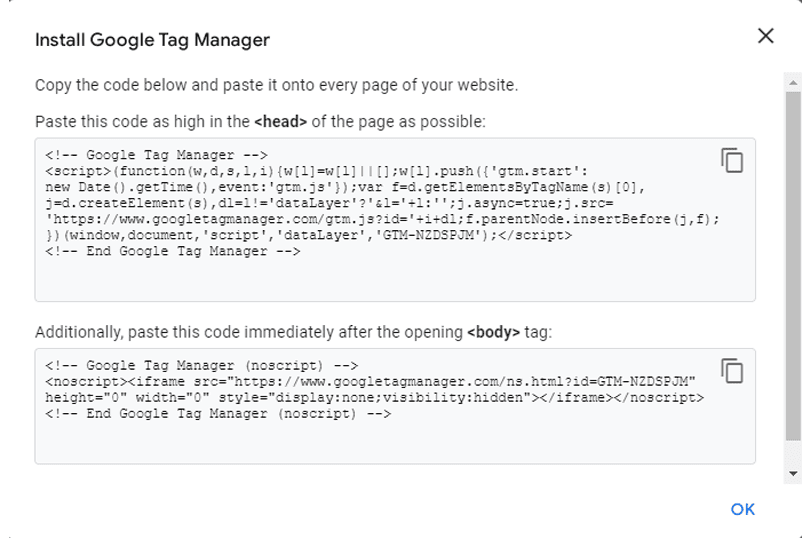
You will need to copy and paste this code into your website in <header>.
Connect your website to Google Analytics

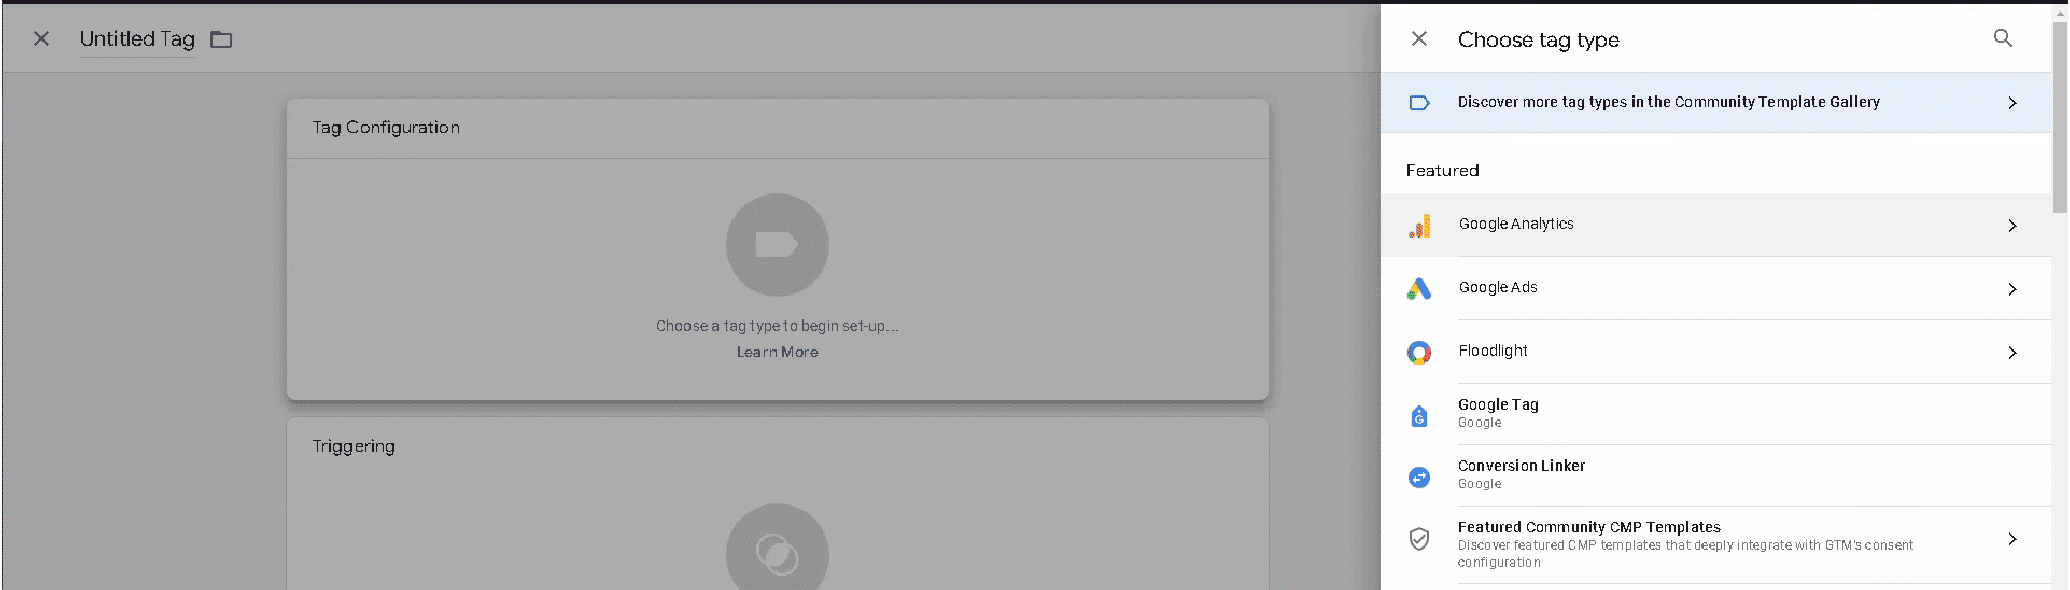
Select the New Tag menu and click Add a new tag. In the tag configuration, you can select Google Analytics: Universal Analytics.
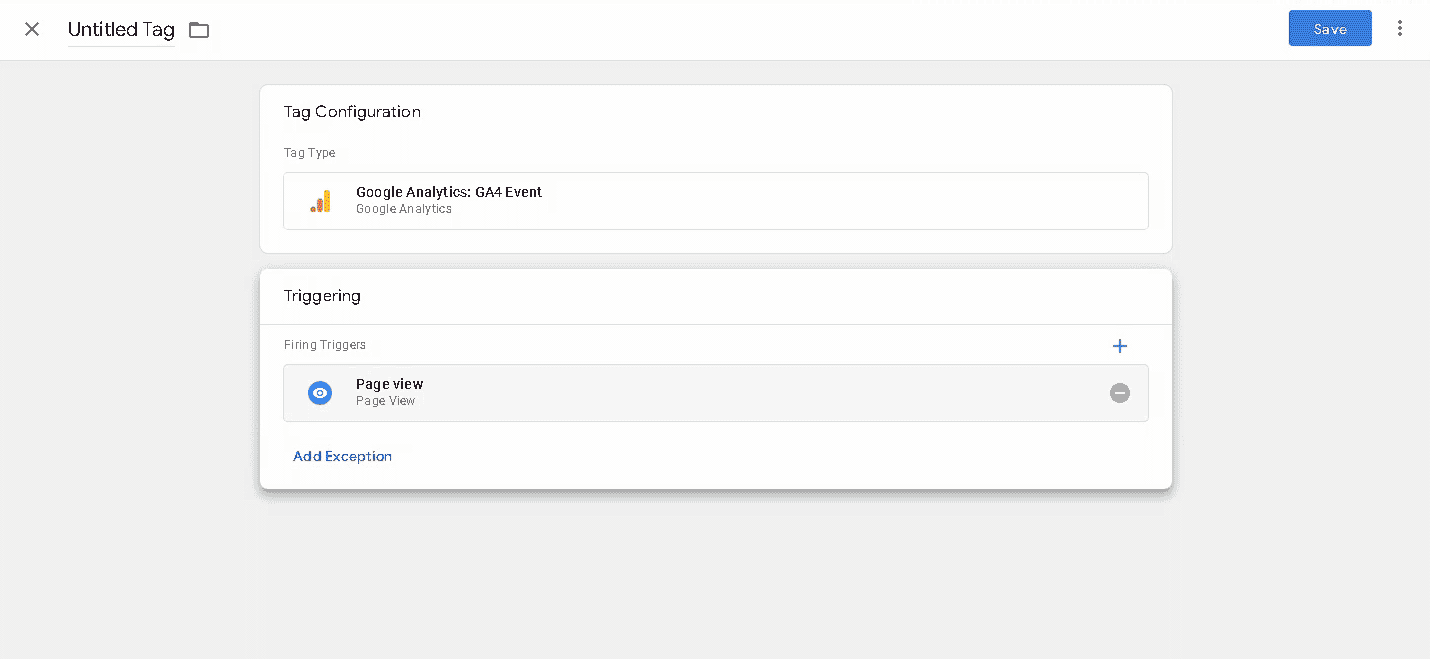
You will then need to specify the Track Type and select All Pages in the Triggers section.
To check your work, you need to publish the container. For quick editing in real time, it is recommended to set the preview to debug mode. Then open the site in the same browser and the tag you have created should appear at the bottom of the debugging panel. You can then publish the container.
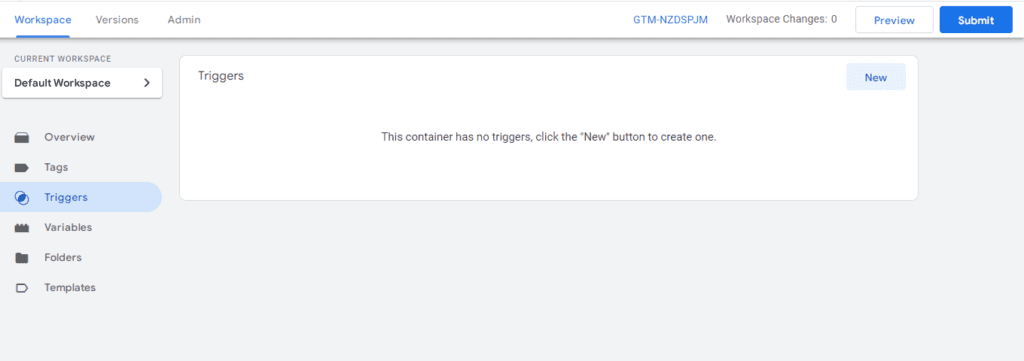
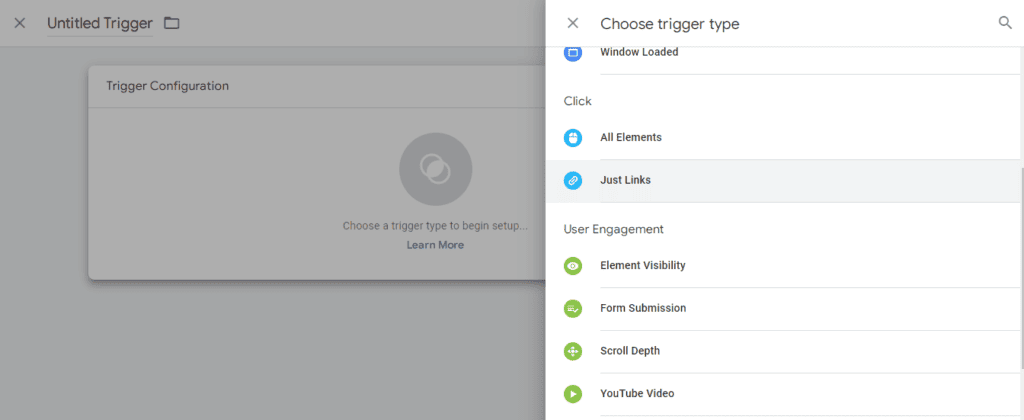
Setting up Google Tag Manager triggers
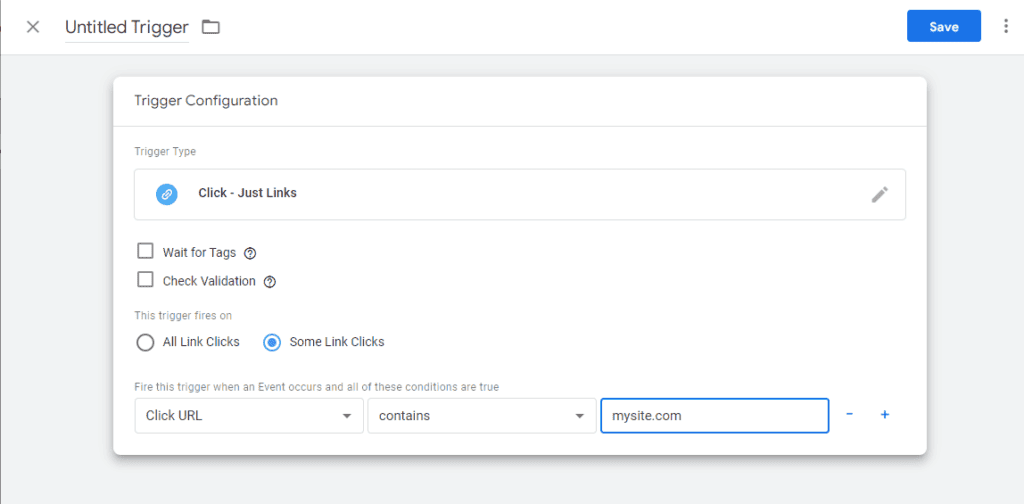
Click on the New menu at the top right of the panel. Then select 'Links only' from the list that appears.
As a condition for activating the trigger, you need to set a click on the specified URL, as well as the address to which you want to track the clicks:
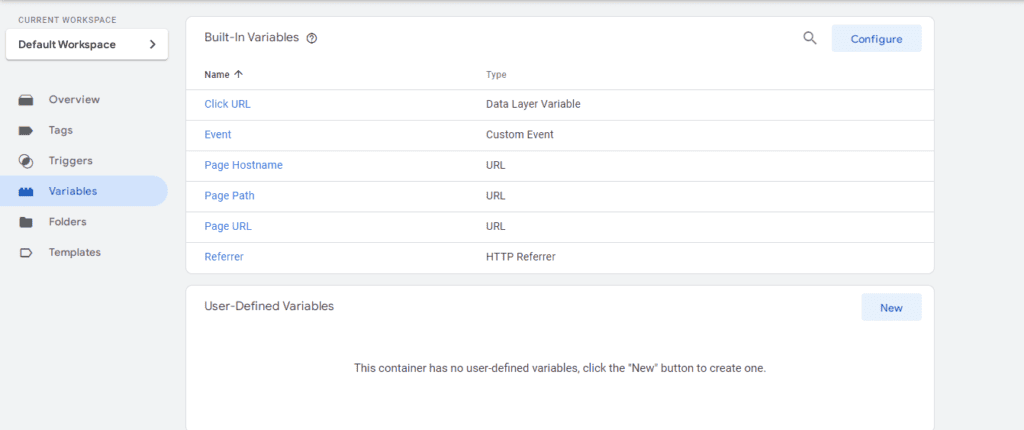
Setting up variables in Google Tag Manager
You will need to select the appropriate options from the menu, configure custom templates or create new ones.
All possible types will be available in the menu, and once all the parameters have been set, the variable will be available in the trigger filter.
Types of variables:
- Pages. Accepts address (full, relative), request source and hostname.
- Utilities. They are used to interact with events, workspaces, IDs and container versions.
- Errors. You can use these to report errors, view the container in debug mode, and specify the address of the error.
- Clicks. HTML elements, URL, element text, target attributes, element ID.
- Forms. It can accept attributes, form text, form elements and form classes.
- History. This variable can take any history state or its source, and supports trigger activation when the URL hash changes.
Google Tag Manager features
GTM can be used for many different tasks.
Tracking clicks on social media buttons
You need to create a custom tag by copying the button code of the selected resource. The trigger can be set for all pages or for any page.
Implement microdata
To do this, you can generate the code using any convenient service. The code is placed in a custom tag and then the trigger activation is configured.
Tracking conversions from external links
You can select this category when setting up a trigger. To do this, select the 'Links only' - 'Some links' type from the menu and assign an activation event. To check if the tag is working, click on any external link in preview mode.
View the bounce rate
If the target action was not performed during the visit, GTM will count it as a bounce. It does not take into account if the visitor then called the number listed on the website and saved it. This has its own significant drawbacks - it distorts the picture of real bounces and targeted actions. You can set more granular time settings: the duration of visits without any action. For example, if you spend more than 30 seconds on the page, the bounce will not be counted.